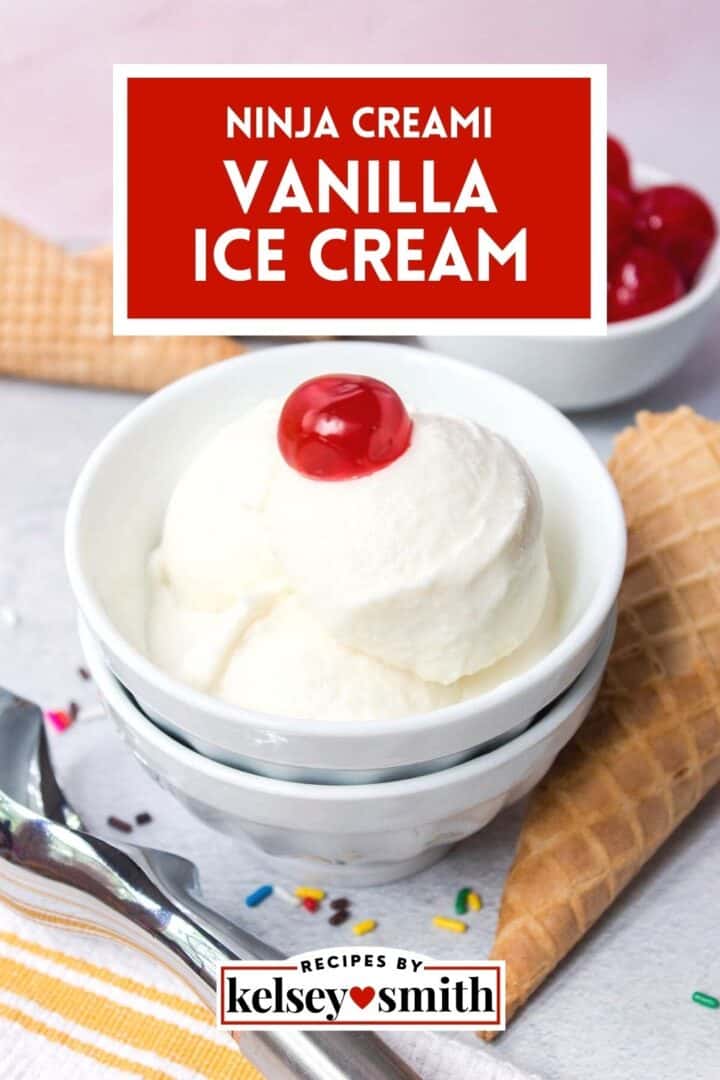
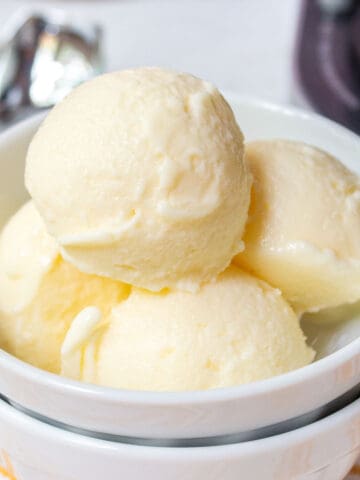
This Ninja Creami vanilla ice cream recipe is made with just 5 ingredients: cream cheese, sugar, vanilla, whole milk, and heavy cream.
The cream cheese, whole milk, and heavy cream create a beautifully creamy texture. Plus, the vanilla and sugar create a great flavor that will satisfy your sweet tooth on a hot day.
Vanilla is the perfect ice cream base for the Ninja Creami ice cream maker. Add your favorite toppings like chocolate chips, cookies, waffle cone pieces, nuts, frozen berries, and more.
As always, the recipe card includes ingredient quantities for both the standard 16-ounce Creami pints and the Deluxe model 24-ounce pints.
This post contains affiliate links. As an Amazon Associate, I earn from qualifying purchases.
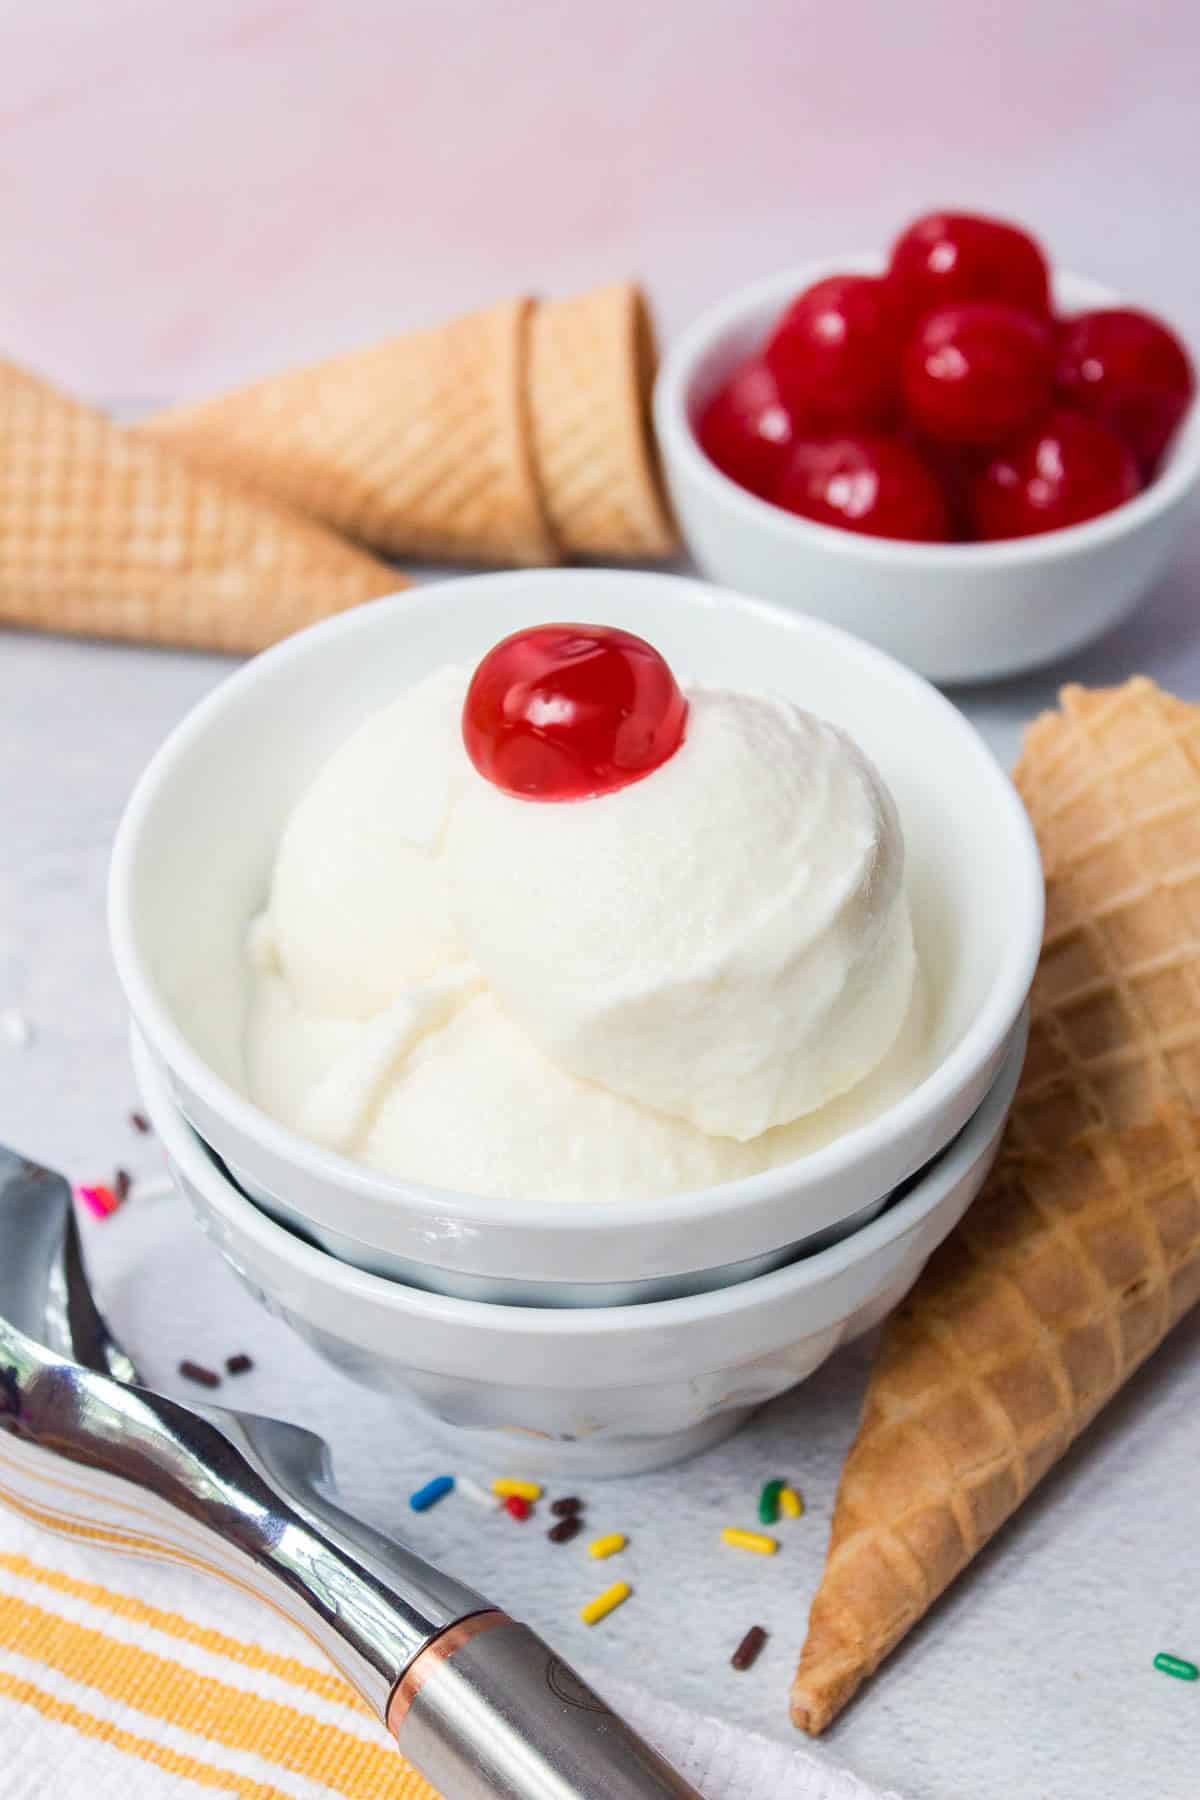
This is a full-fat, full-flavor homemade ice cream recipe. For a lite vanilla ice cream, try my Ninja Creami vanilla protein ice cream. Tell me if you'd like to see more traditional ice cream recipes.
Recipe Highlights
- Simple ingredients: You'll love this 5-ingredient ice cream recipe using only basic ingredients.
- Rich vanilla flavor: Classic homemade vanilla ice cream flavor.
Jump to:
Ingredients
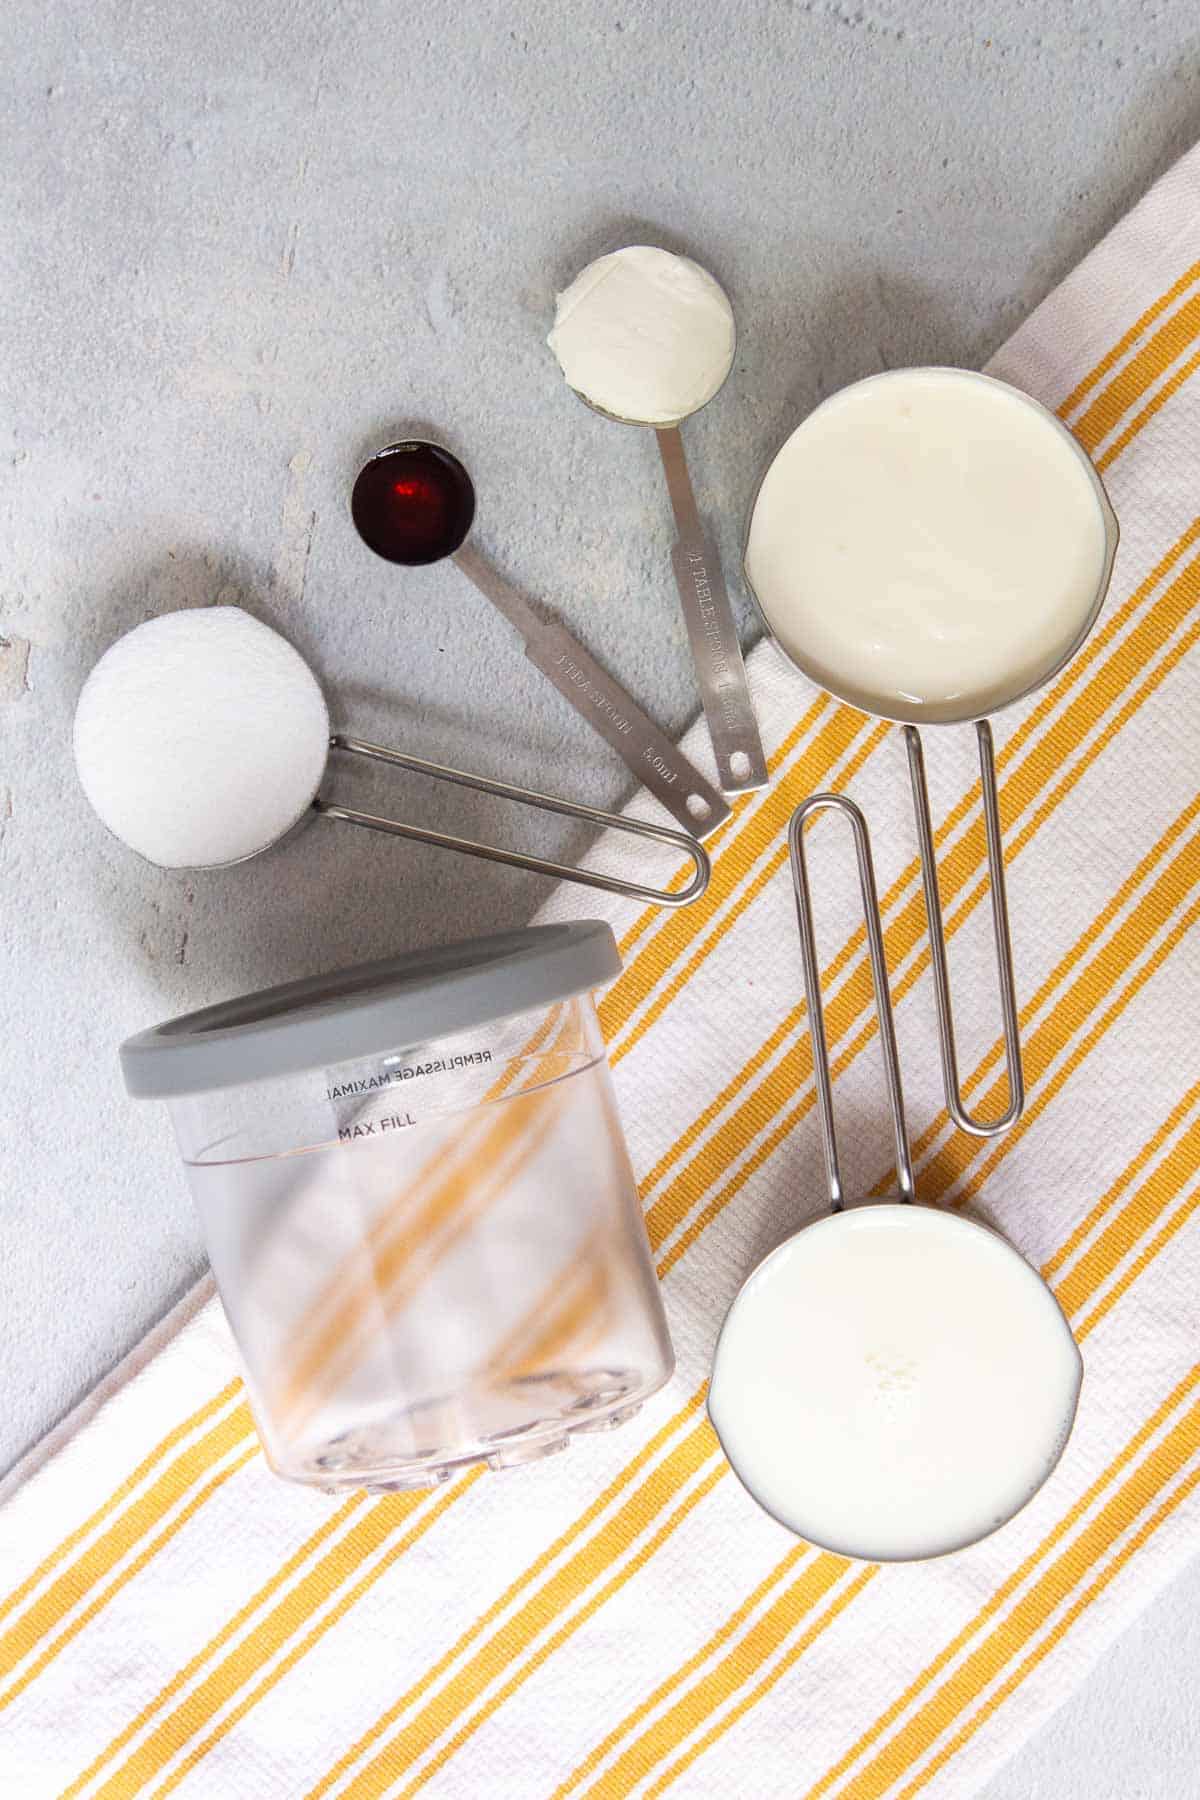
- Cream cheese - Acts as a stabilizer for a creamy texture
- Granulated sugar - White sugar
- Vanilla extract - For flavor
- Whole milk - Or similar
- Heavy cream - For a creamy mouthfeel
See the recipe card for quantities.
Instructions
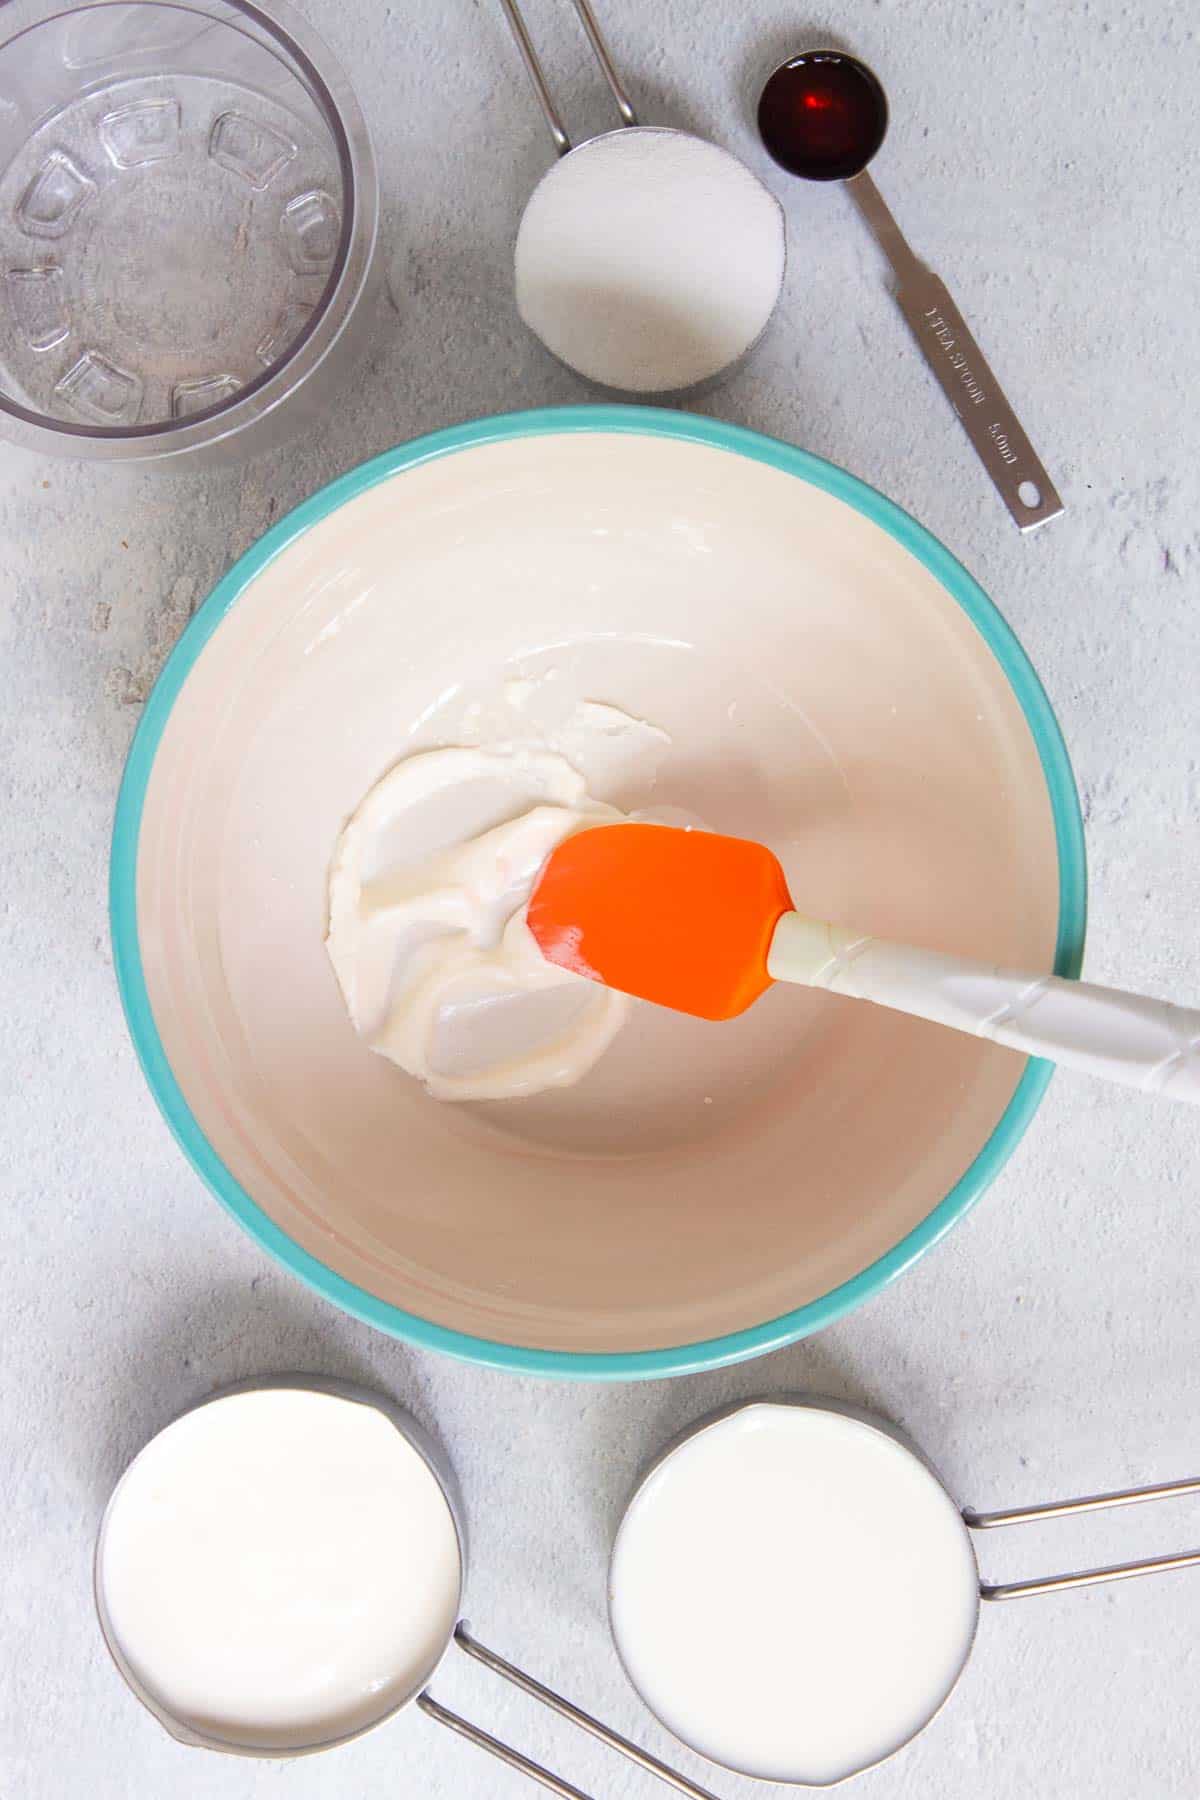
Microwave the cream cheese for 10-15 seconds in a large, microwave-safe bowl.
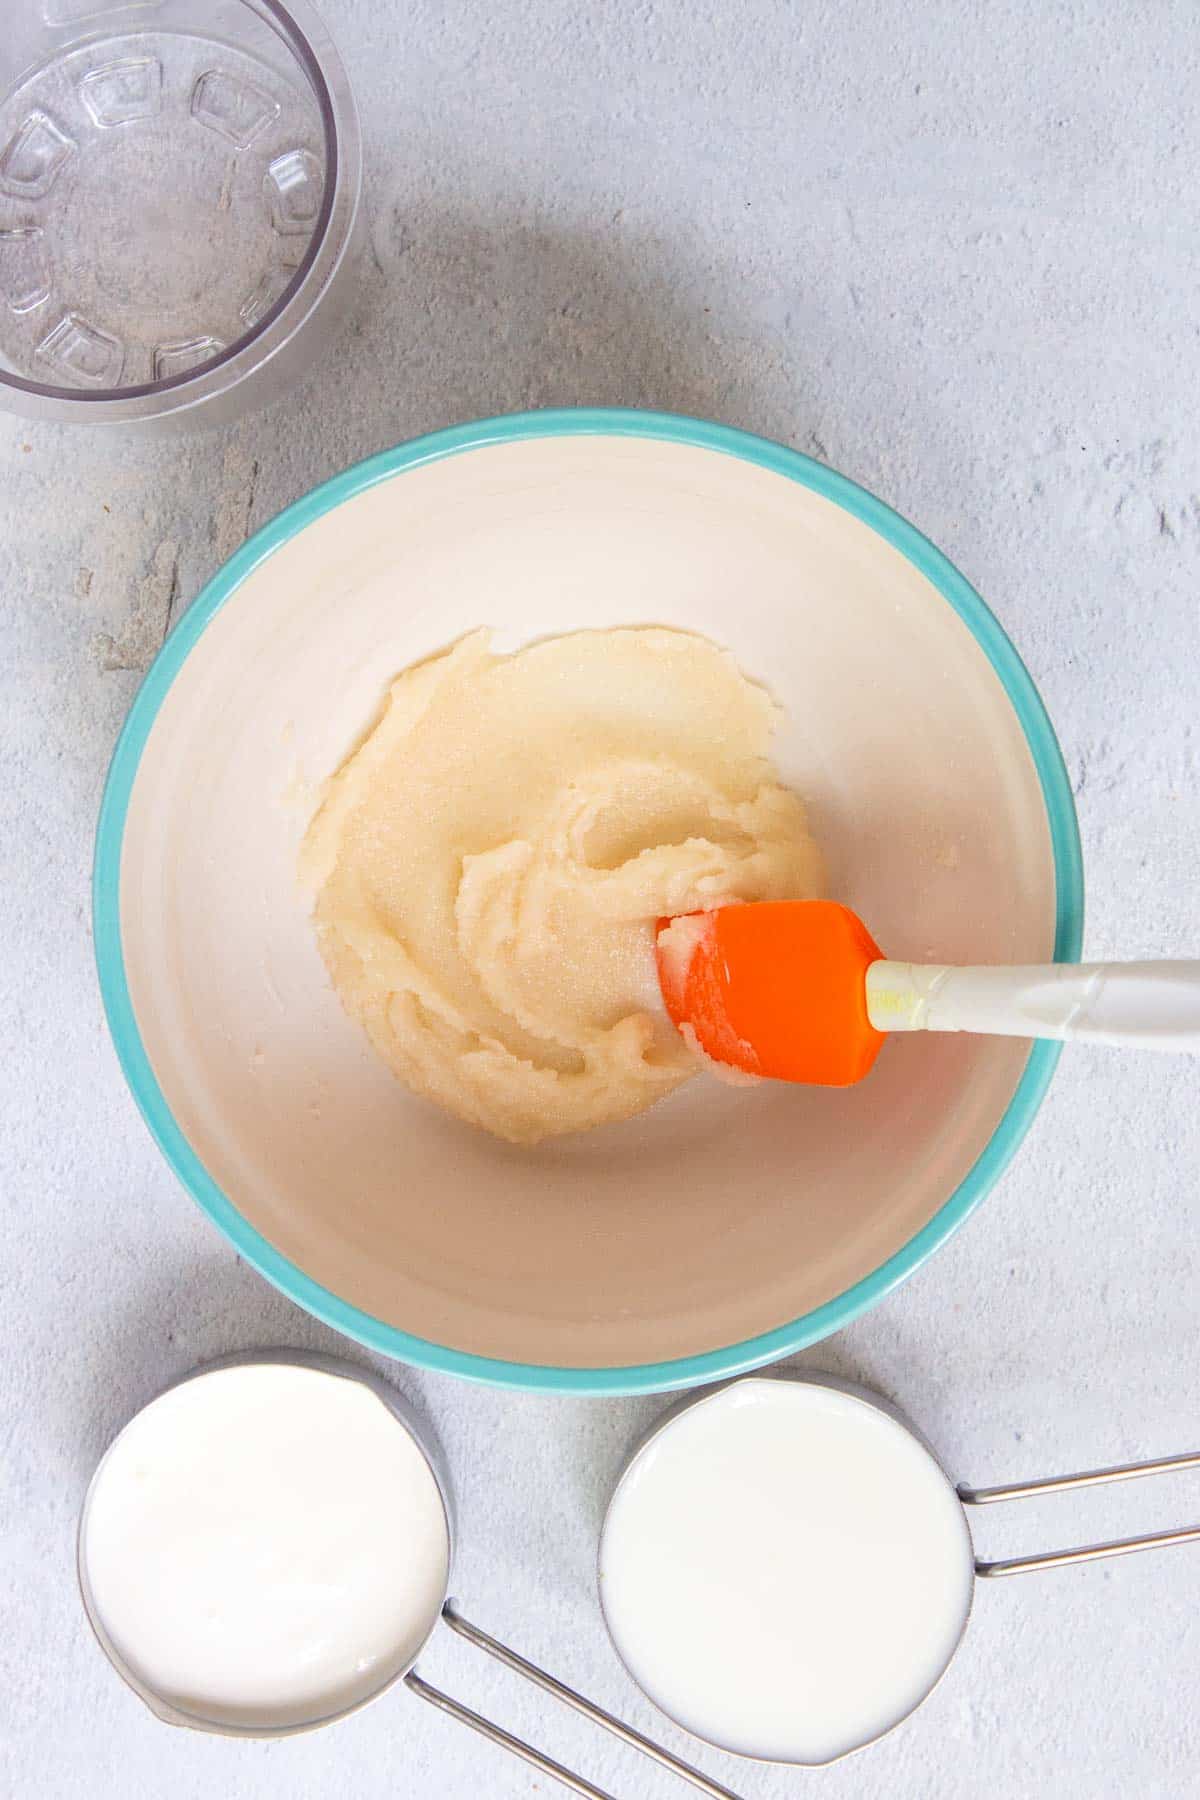
Once the cream cheese is softened, add the granulated sugar and vanilla extract, mixing with a silicone spatula to combine. The mixture will be thick.
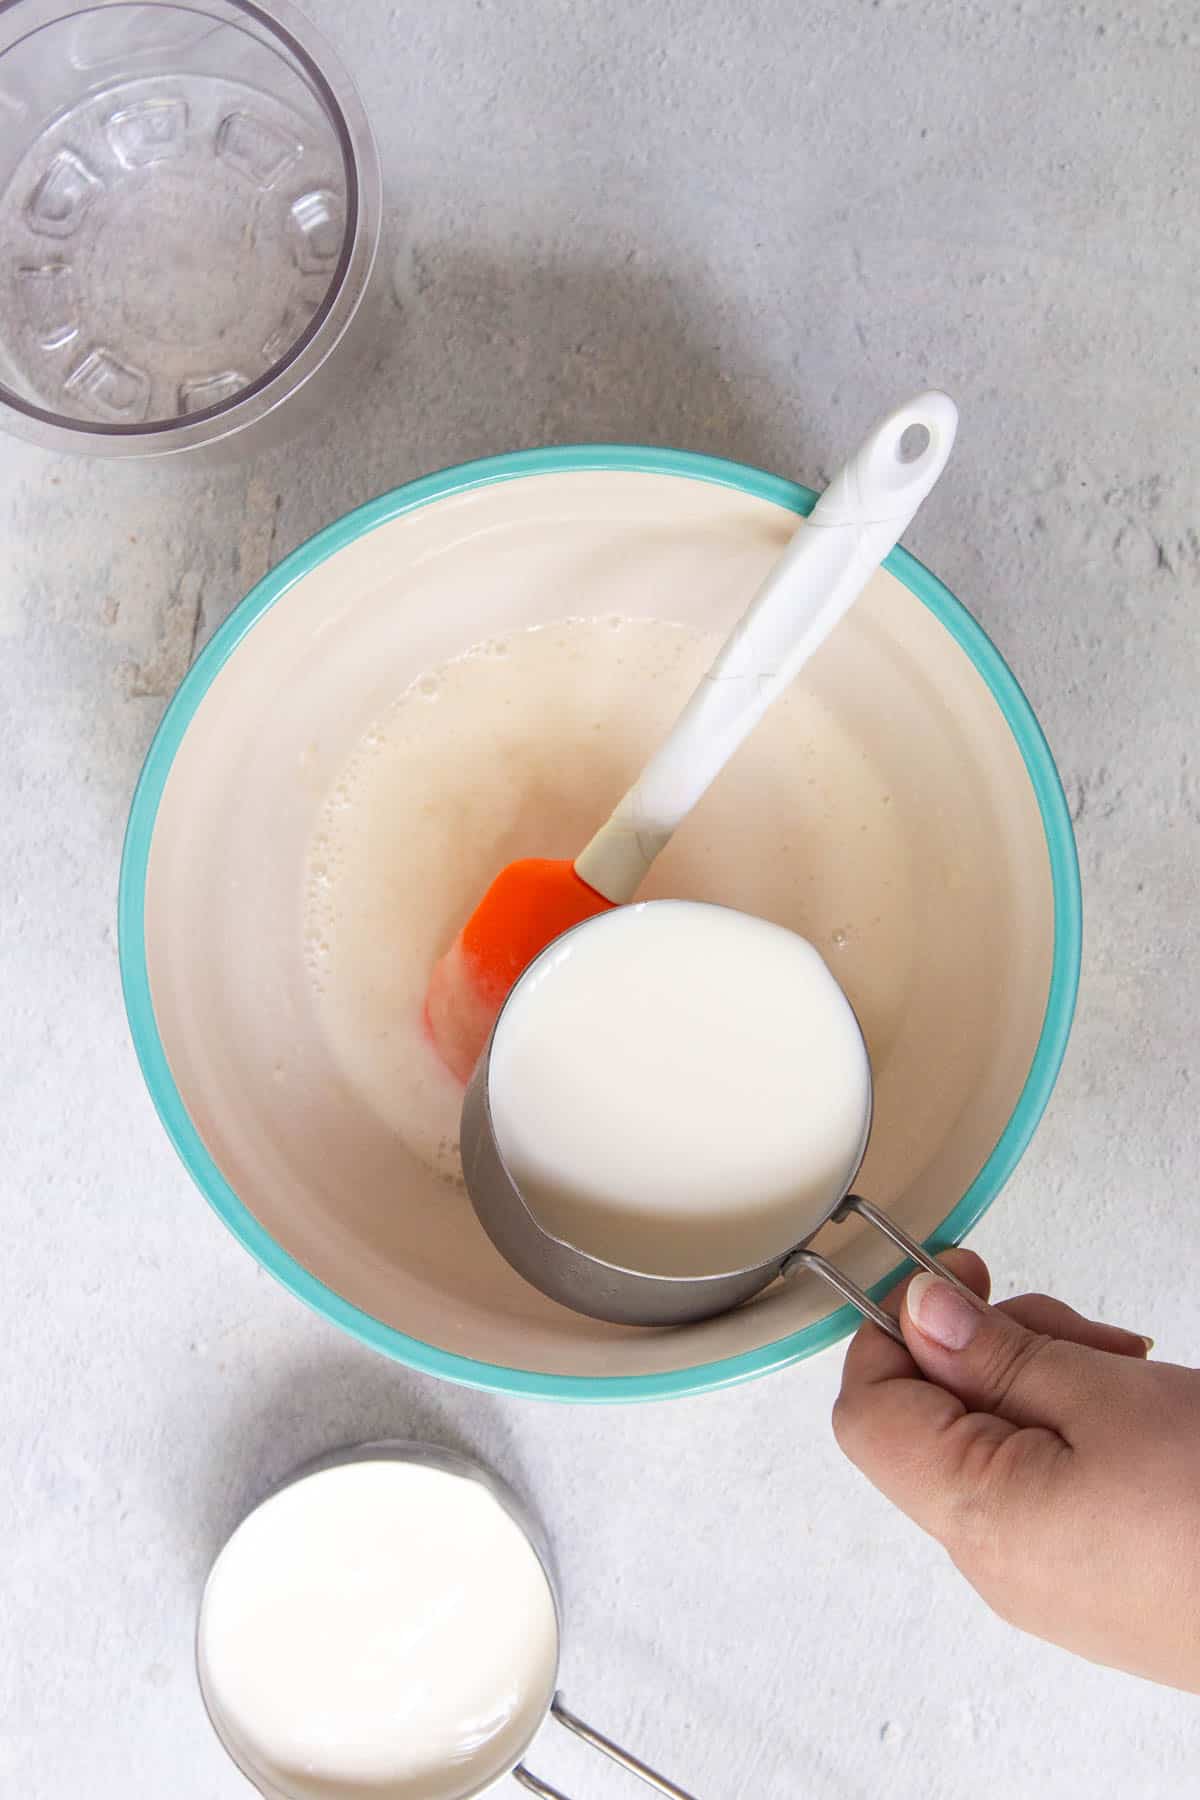
Mix in the milk and heavy cream a little bit at a time, stirring until fully combined.
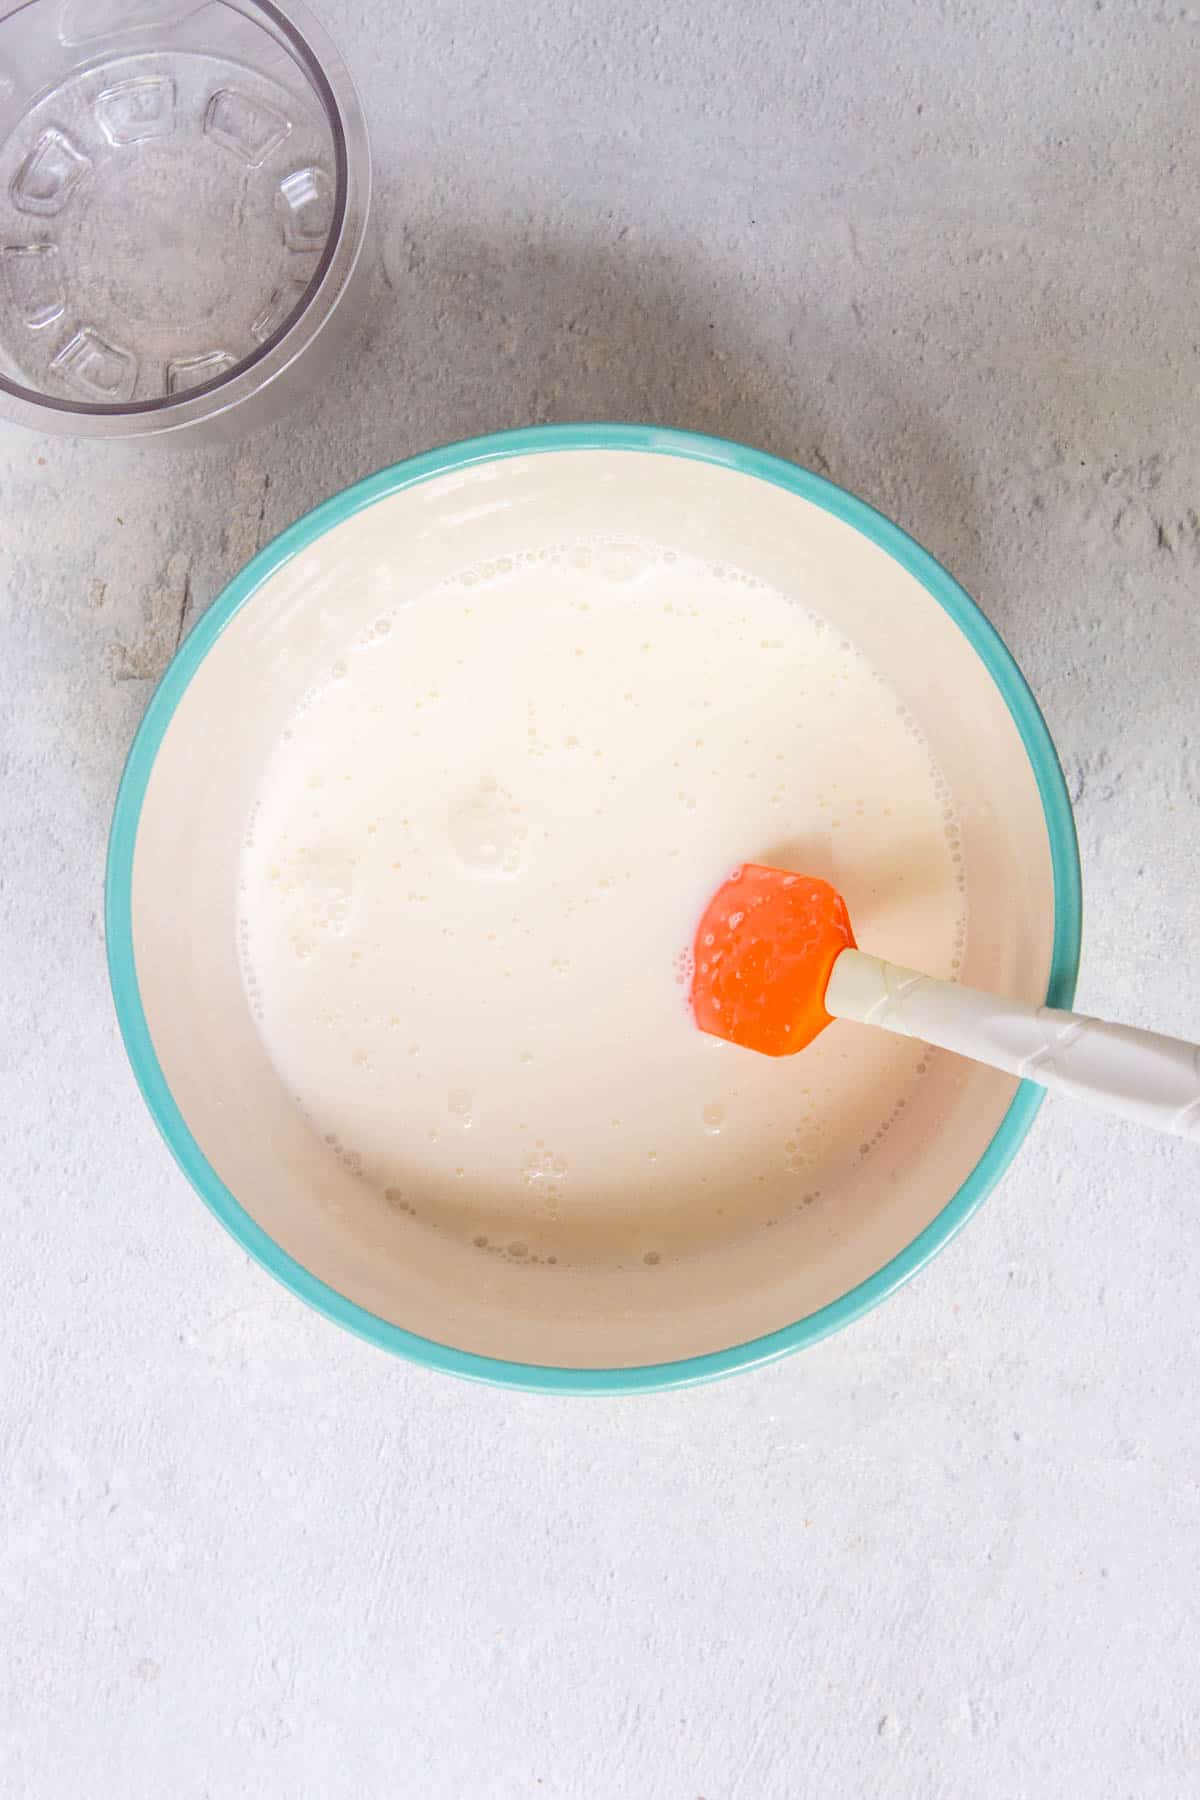
At this point, the sugar should be fully dissolved. You can scrap the bottom of the bowl with your spatula to see if there are any undissolved granules of sugar.
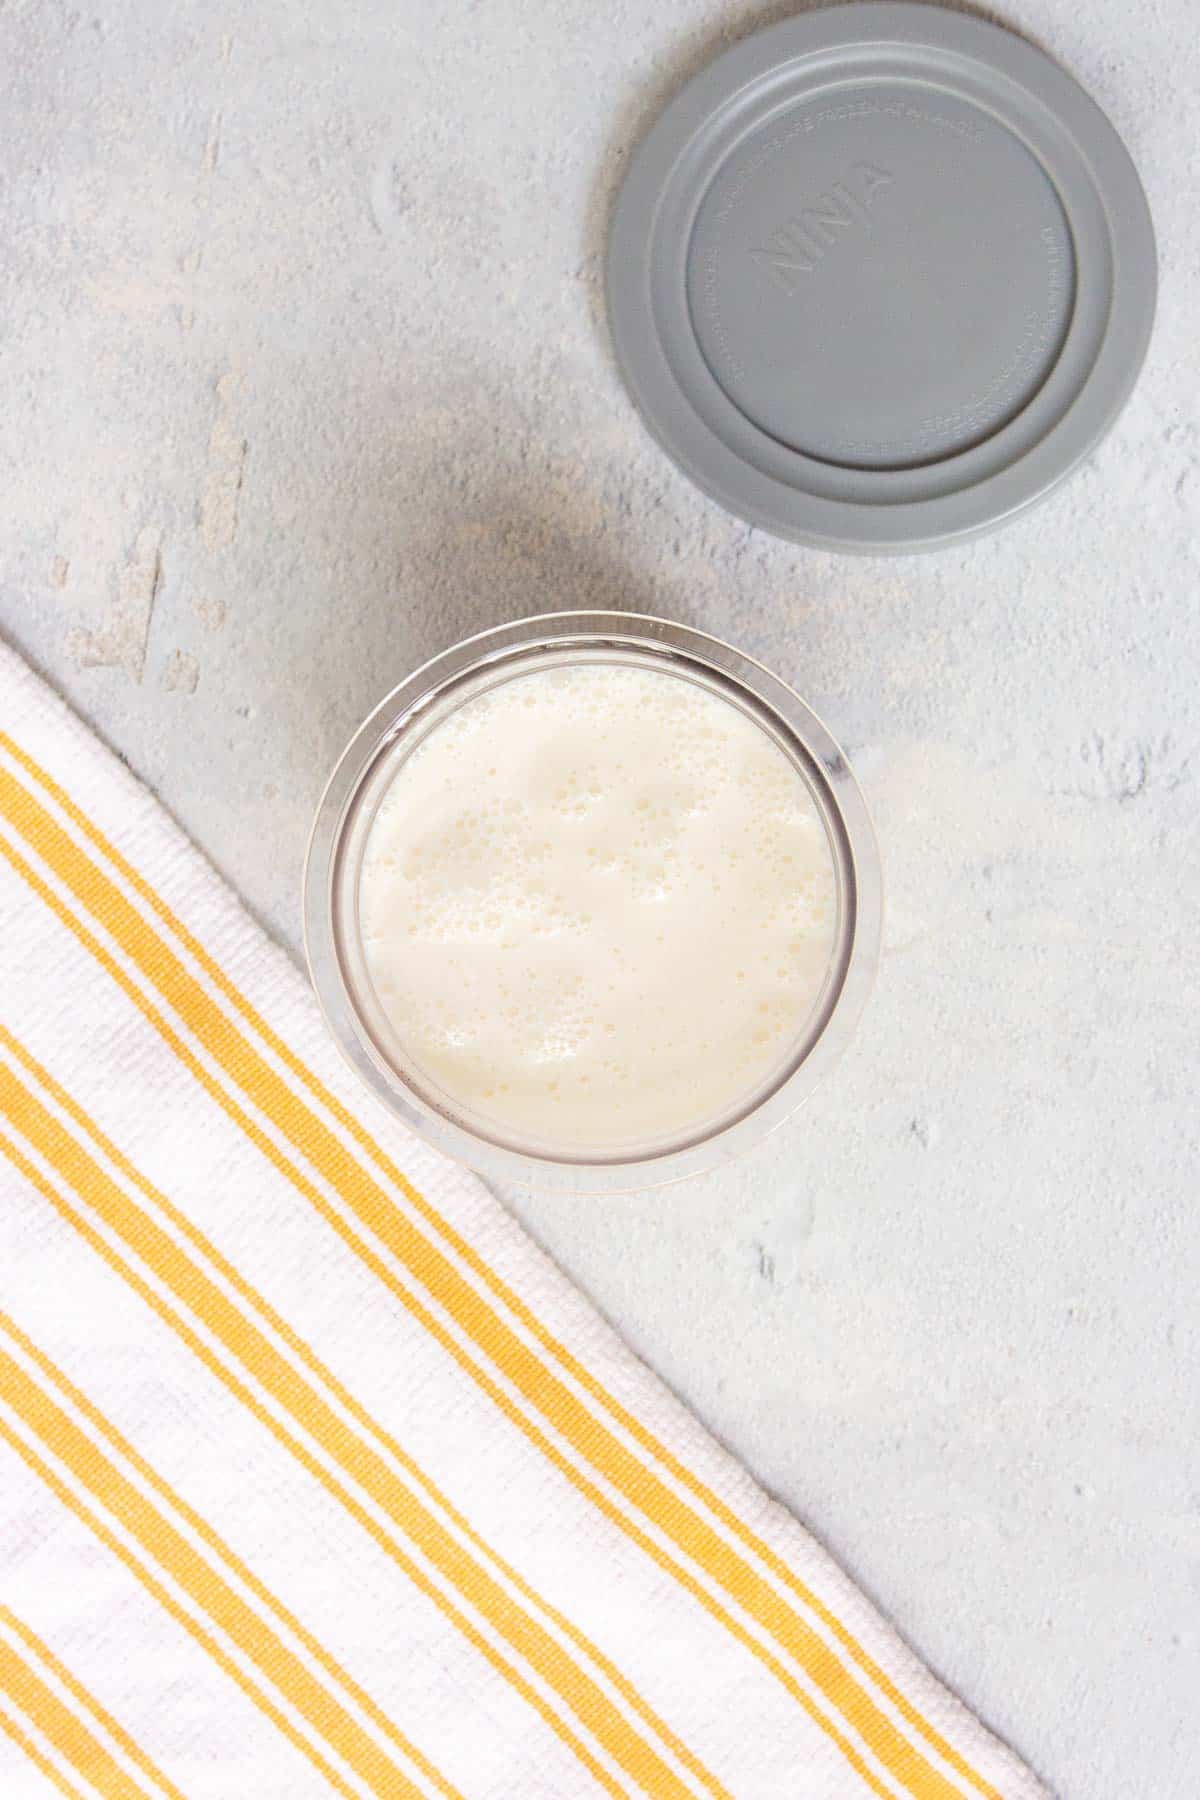
Pour the mixture into an empty Ninja Creami pint. Do not exceed the max fill line. Place the storage lid on the pint and freeze it on a level surface for 24 hours.
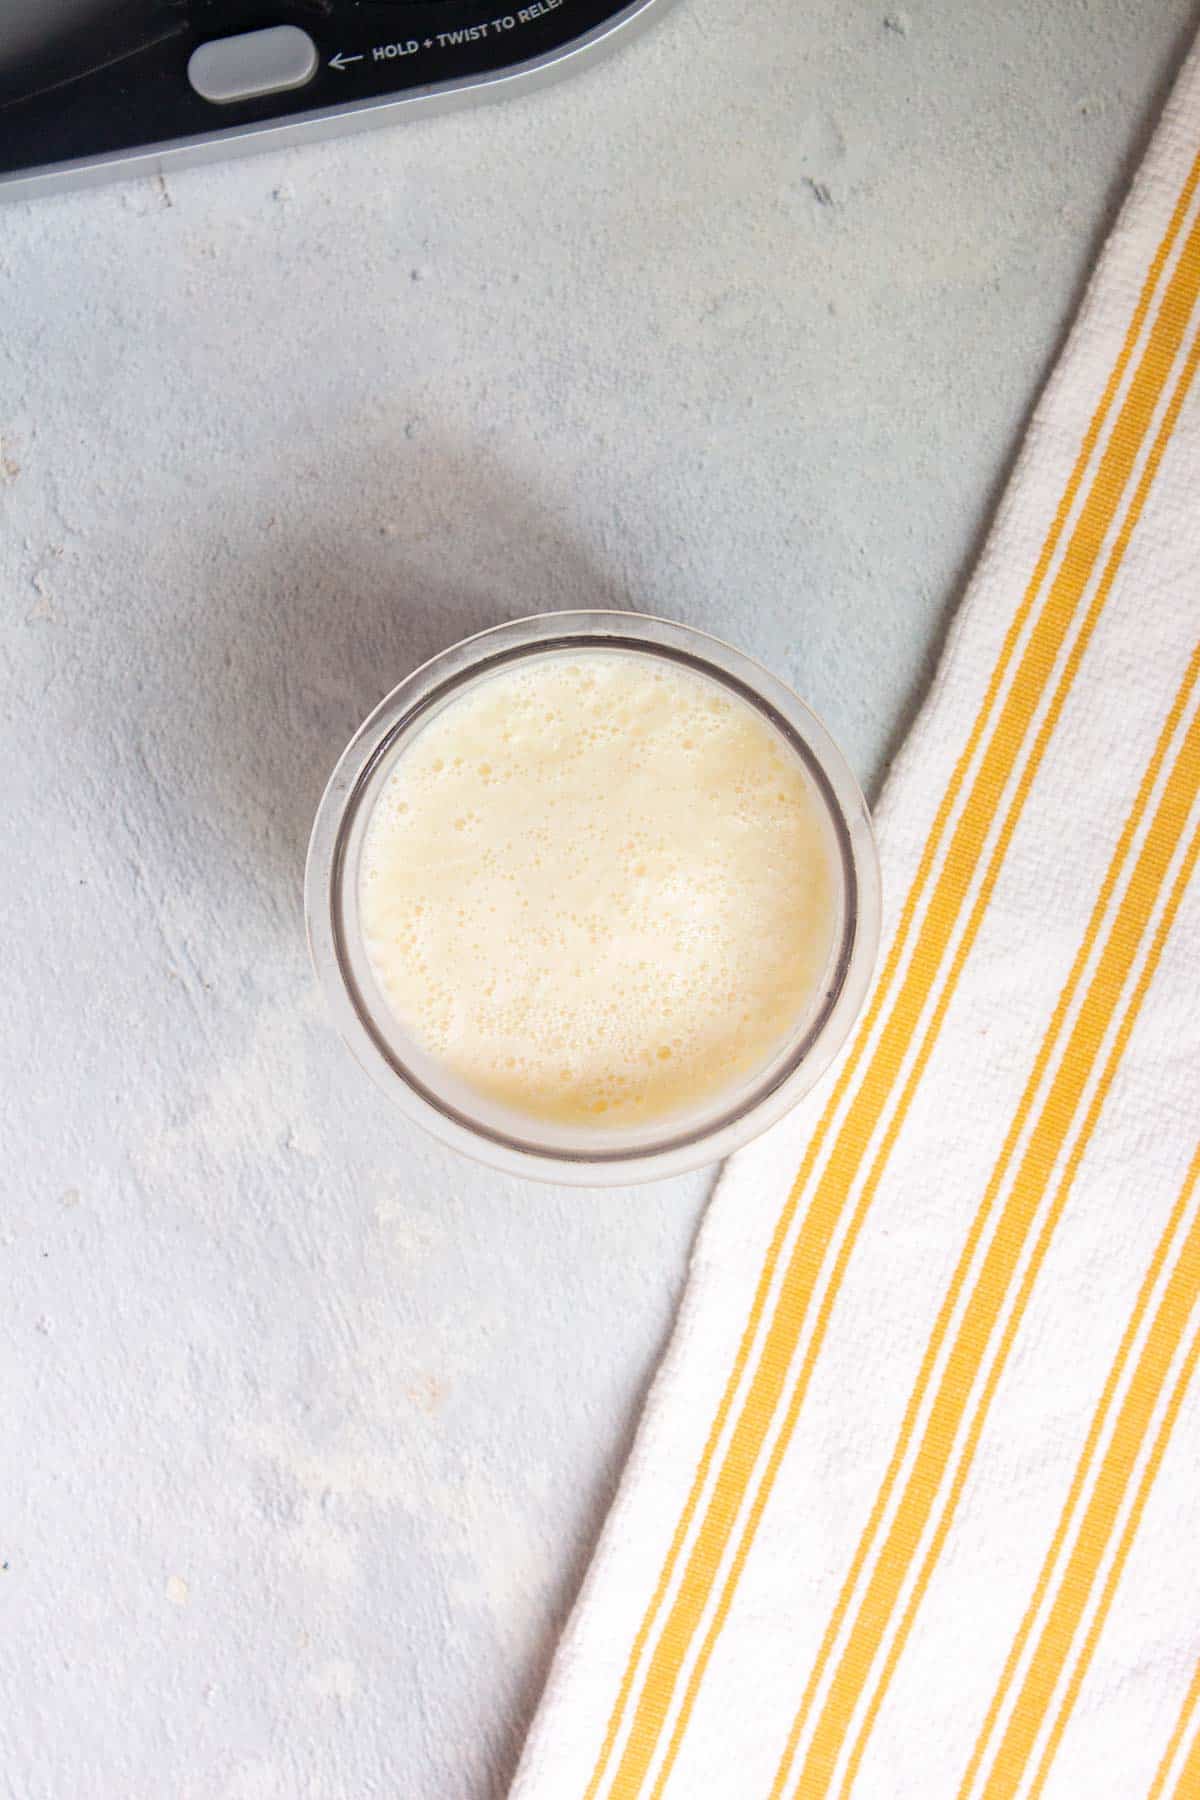
After freezing, remove the pint from the freezer and remove the lid.
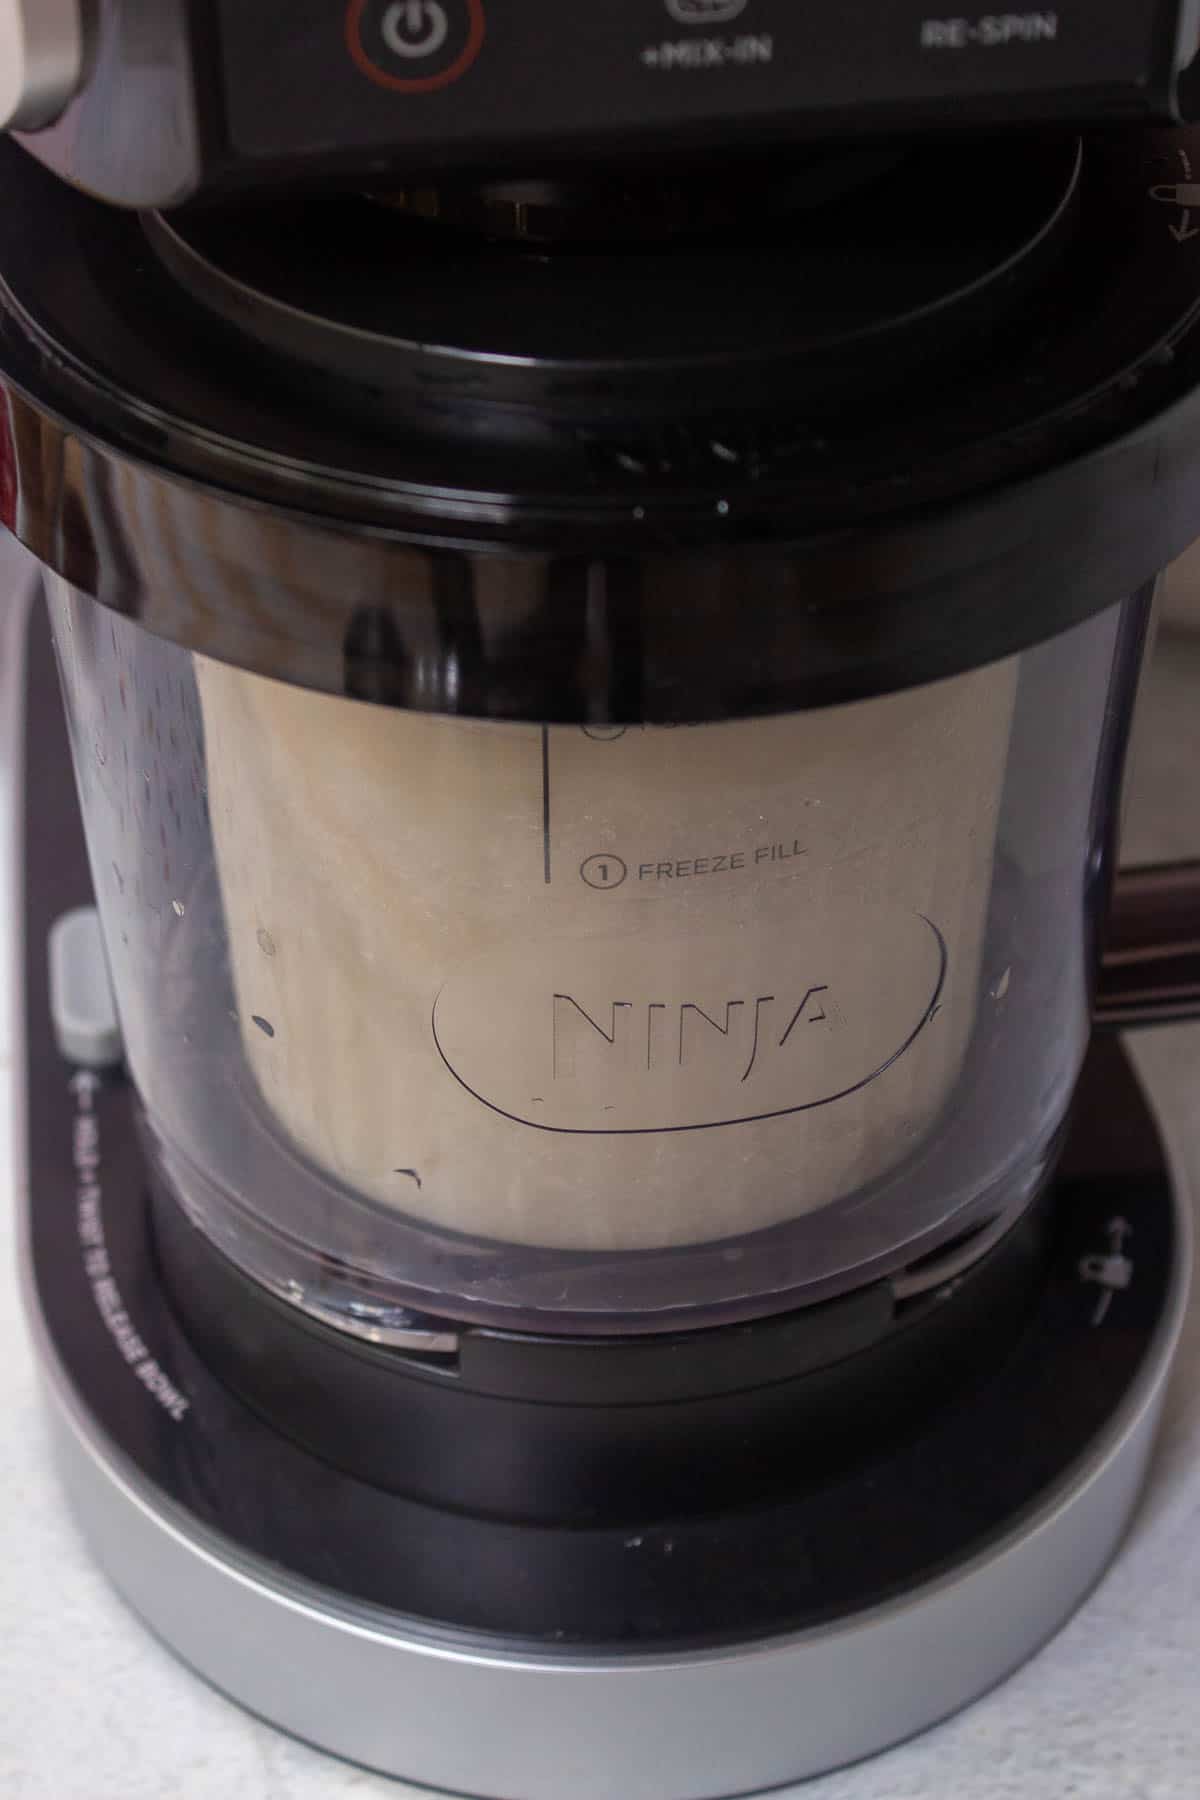
Put the opened pint into the outer bowl of the Ninja Creami machine, install the Creamerizer Paddle to the lid, and lock the lid assembly to the bowl. Slide the bowl assembly into the machine's motor base, twist it to the right to lock it into place, and select the Ice Cream button.
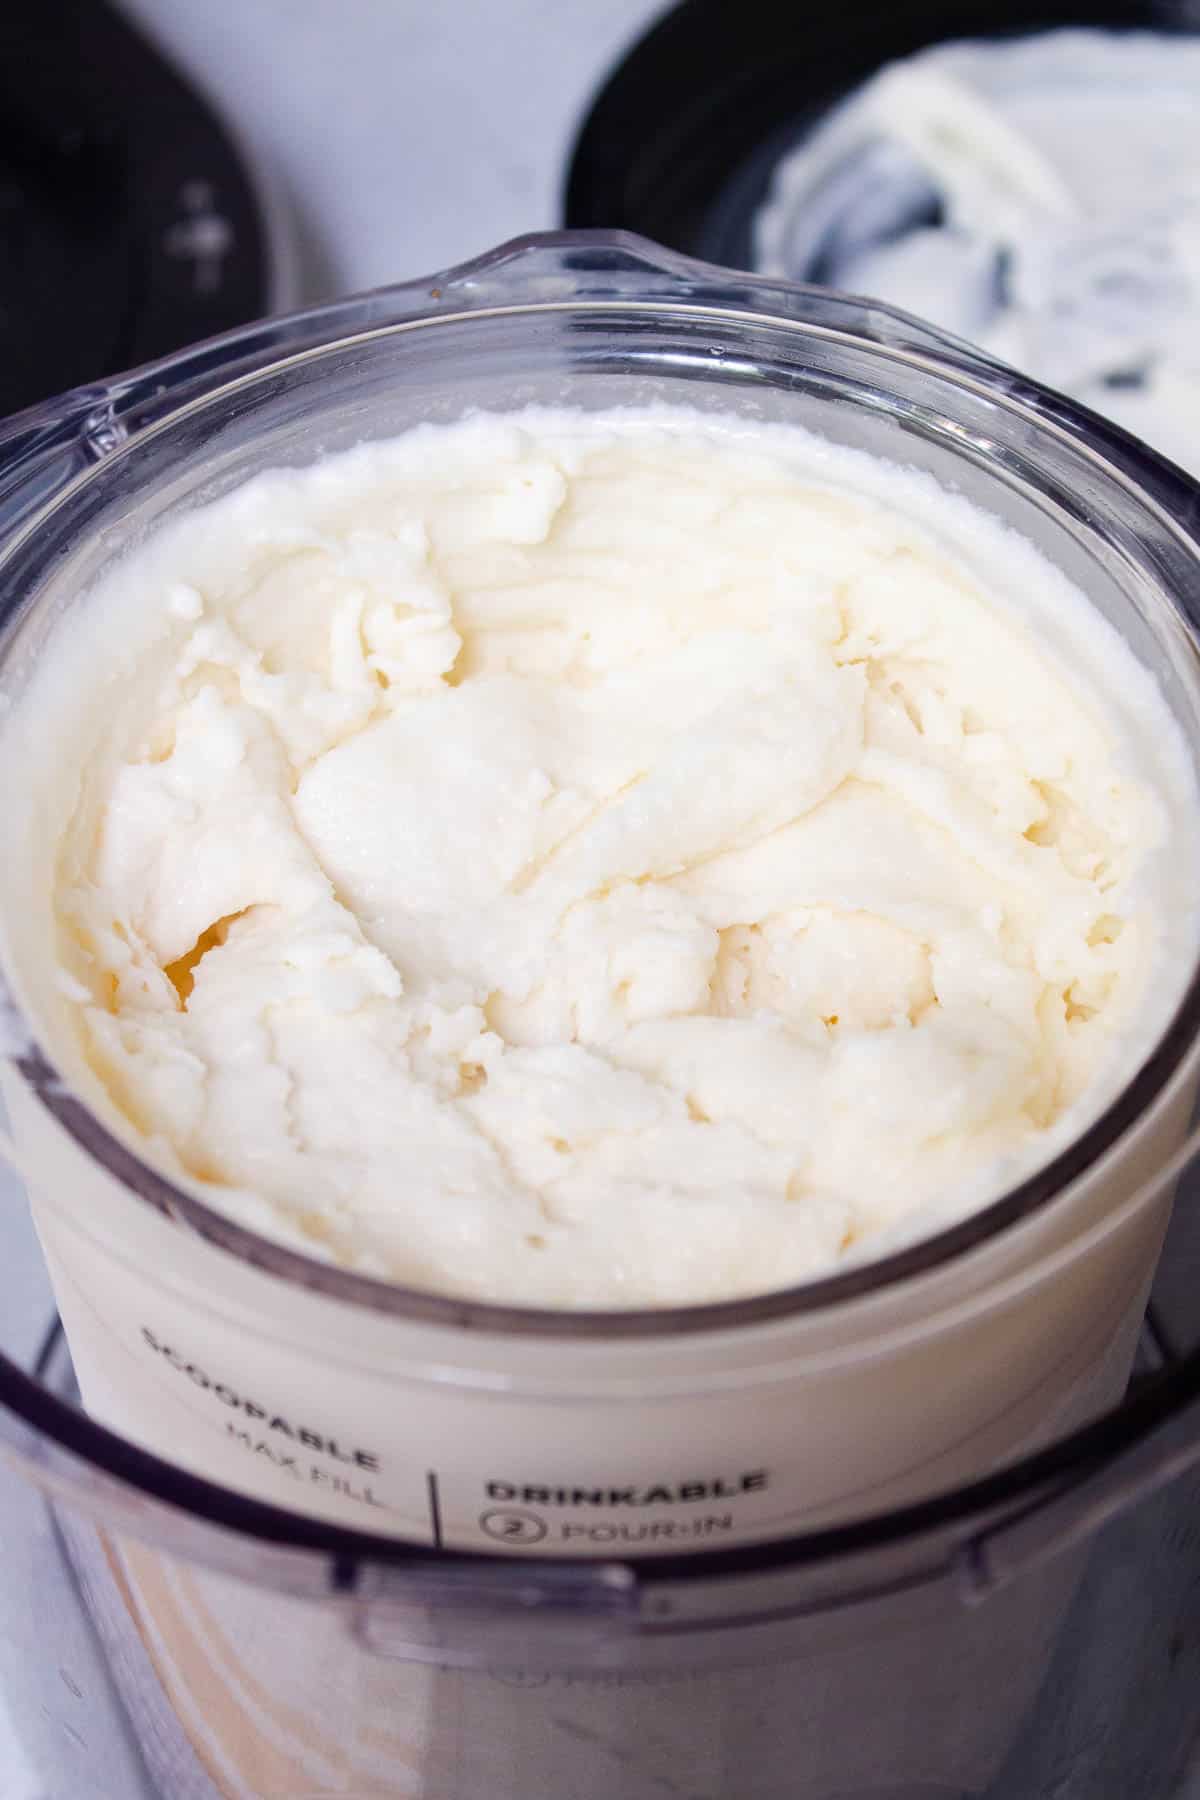
After processing is complete, unlock and remove the bowl assembly from the ice cream maker and remove the lid. If the first spin does not result in a creamy texture, re-spin. Serve this sweet treat immediately.
Optional: If adding mix-ins, create a small tunnel with a spoon in the center of the ice cream to the bottom of the pint. Add the mix-ins, reassemble the bowl, and process using the Mix-In program.
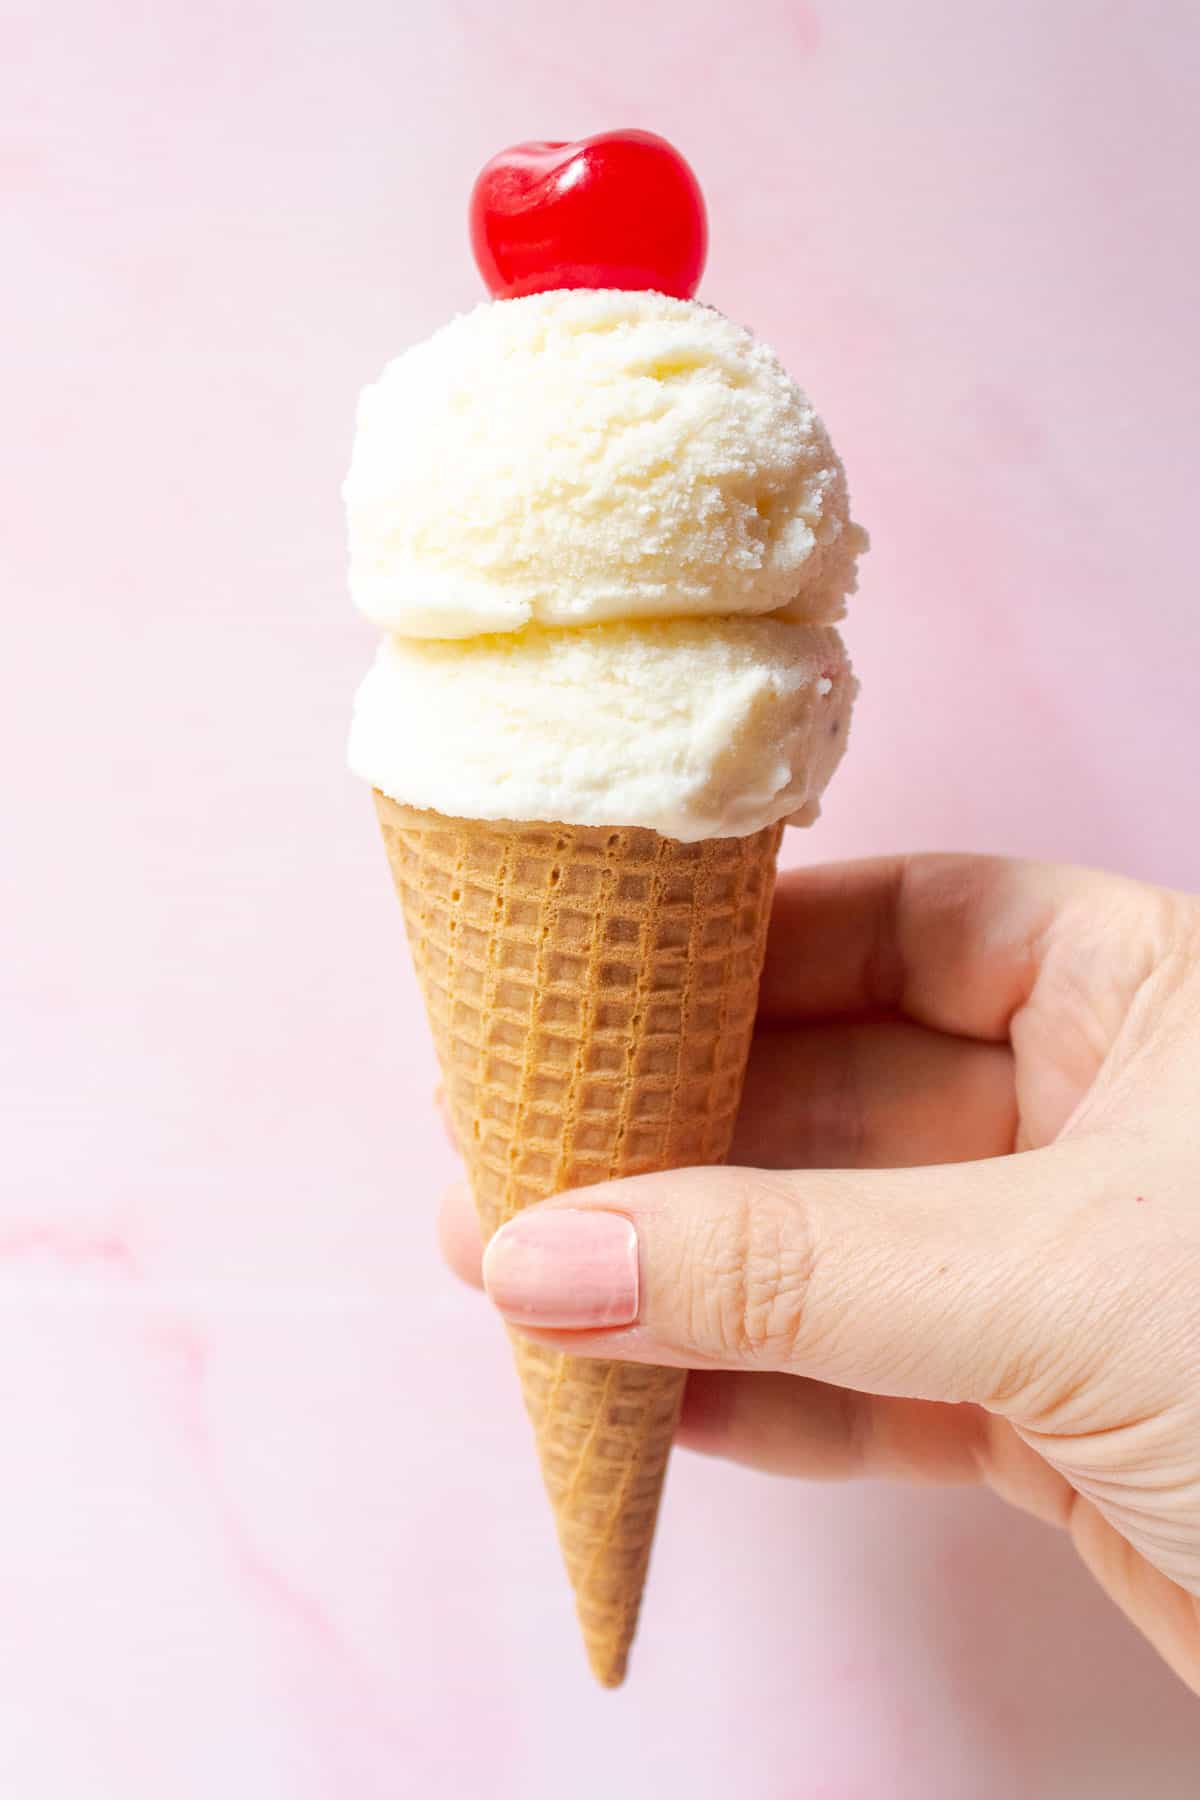
Note: The consistency of this ice cream is fairly close to a soft serve (or frosty) consistency rather than scoopable traditional ice cream. If you want to get solid scoops, you will need to freeze the ice cream again for several hours after processing it. It softens again rather quickly, so I recommend simply enjoying your soft ice cream in a bowl and skipping the waffle cone or sugar cone altogether.
Substitutions
Cream cheese: Instant vanilla pudding mix or sugar-free pudding mix can be used in place of cream cheese as a binding agent. Alternatively, you can use ½ teaspoon guar gum.
Sugar: Sugar substitutes such as stevia and monk fruit sweetener can be used in place of granulated sugar.
Vanilla: Instead of pure vanilla extract, you can use vanilla bean paste using the same quantity listed.
Whole milk: Whole milk will give you the creamiest result, but any milk can be used. Non-fat milk or milk alternatives such as almond milk or oat milk will have an icier consistency.
Heavy cream: Heavy whipping cream contains at least 36 percent milk fat. If heavy cream is over-processed in the Creami, it can turn into a greasy, butter-like texture. For a lighter option, try half and half (half cream, half milk).
Variations
Chocolate: Use this vanilla base recipe and add 2 tablespoons of cocoa powder.
Cookies and Cream: Try my Ninja Creami cookies and cream ice cream recipe.
Cake batter: Instead of vanilla extract, try cake batter flavor.
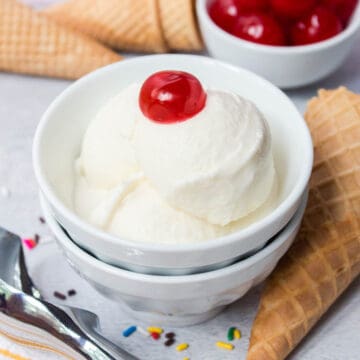
Mix-ins and toppings: Chocolate chips, cookies, graham crackers, waffle cone pieces, nuts, frozen berries, chocolate syrup, rainbow sprinkles, stemless maraschino cherries, and more.
Equipment
- Ninja Creami, Ninja Creami Breeze, or Ninja Creami Deluxe
- Microwave Safe Mixing Bowl
- Silicone spatula
Storage
Cover the pint with the storage lid before refreezing. The ice cream will firm up as it re-freezes, but since this is a full-fat recipe, you more than likely will not need to re-spin the ice cream when you enjoy it later.
If it is difficult to scoop, set it out on the counter at room temperature for about 5 minutes. If it is rock hard, process it again on the Ice Cream function.
Creami Tips
- Upright freezer - Chest freezers may get too cold and lead to ice crystals. Stick to an upright freezer.
- Level surface - The pint should sit level in your freezer. Processing pints frozen at an angle could damage the machine.
- Max fill - Only fill your pint to the max fill line when freezing your creations. You can exceed the max fill line when adding mix-ins.
- Mix-ins: Ninja does not recommend fresh berries, sauces, peanut butter, and the like for the mix-in function. Fresh fruit and sauces can water down the ice cream, and spreads and nut butters do not mix well. For these ingredients, it's best to fold them in by hand.
- Leftovers - High-fat ice cream is usually soft enough to scoop after re-freezing, but lite ice cream will re-freeze solid and need to be re-processed on the Lite Ice Cream setting.
See your Ninja Creami user manual and safety instructions prior to use.
FAQ
Yes, there is the Ninja Creami 7-in-1, the Ninja Creami 5-in-1, the Ninja Creami Deluxe, and the Ninja Creami Breeze. The Deluxe has a 24 ounce pint size while the others have a 16 ounce pint.
Related
I'm working on developing the best Ninja Creami recipes. Tell me what you'd like to see next.
📖 Recipe
Ninja Creami Vanilla Ice Cream
Ingredients
For a standard pint
- 1 tablespoon cream cheese
- ⅓ cup granulated sugar
- 1 teaspoon vanilla extract
- 1 cup whole milk
- ¾ cup heavy cream
For a deluxe pint
- 1-½ tablespoon cream cheese
- ½ cup granulated sugar
- 1-½ teaspoon vanilla extract
- 1-⅓ cup whole milk
- 1-⅓ cup heavy cream
Instructions
Day One
- Microwave the cream cheese for 10 to 15 seconds in a large, microwave-safe mixing bowl.
- Once the cream cheese is softened, add the granulated sugar and vanilla extract, mixing with a silicone spatula to combine. The mixture will be thick.
- Mix in the milk and heavy cream a little bit at a time, stirring until fully combined and until the sugar is fully dissolved.
- Pour the mixture into an empty Ninja Creami pint. Do not exceed the max fill line. Place the storage lid on the pint and freeze it on a level surface for 24 hours.
Day Two
- After freezing, remove the pint from the freezer and remove the lid. Put the opened pint into the outer bowl of the Ninja Creami machine, install the Creamerizer Paddle to the lid, and lock the lid assembly to the bowl. Slide the bowl assembly into the machine's motor base, twist it to the right to lock it into place, and select the Ice Cream button.
- After processing is complete, unlock and remove the bowl assembly from the ice cream maker and remove the lid. If the first spin does not result in a creamy texture, re-spin.
- Optional: If adding mix-ins, create a small tunnel with a spoon in the center of the ice cream to the bottom of the pint. Add the mix-ins, reassemble the bowl, and process using the Mix-In program.
- Serve this sweet treat immediately.



Comments
No Comments